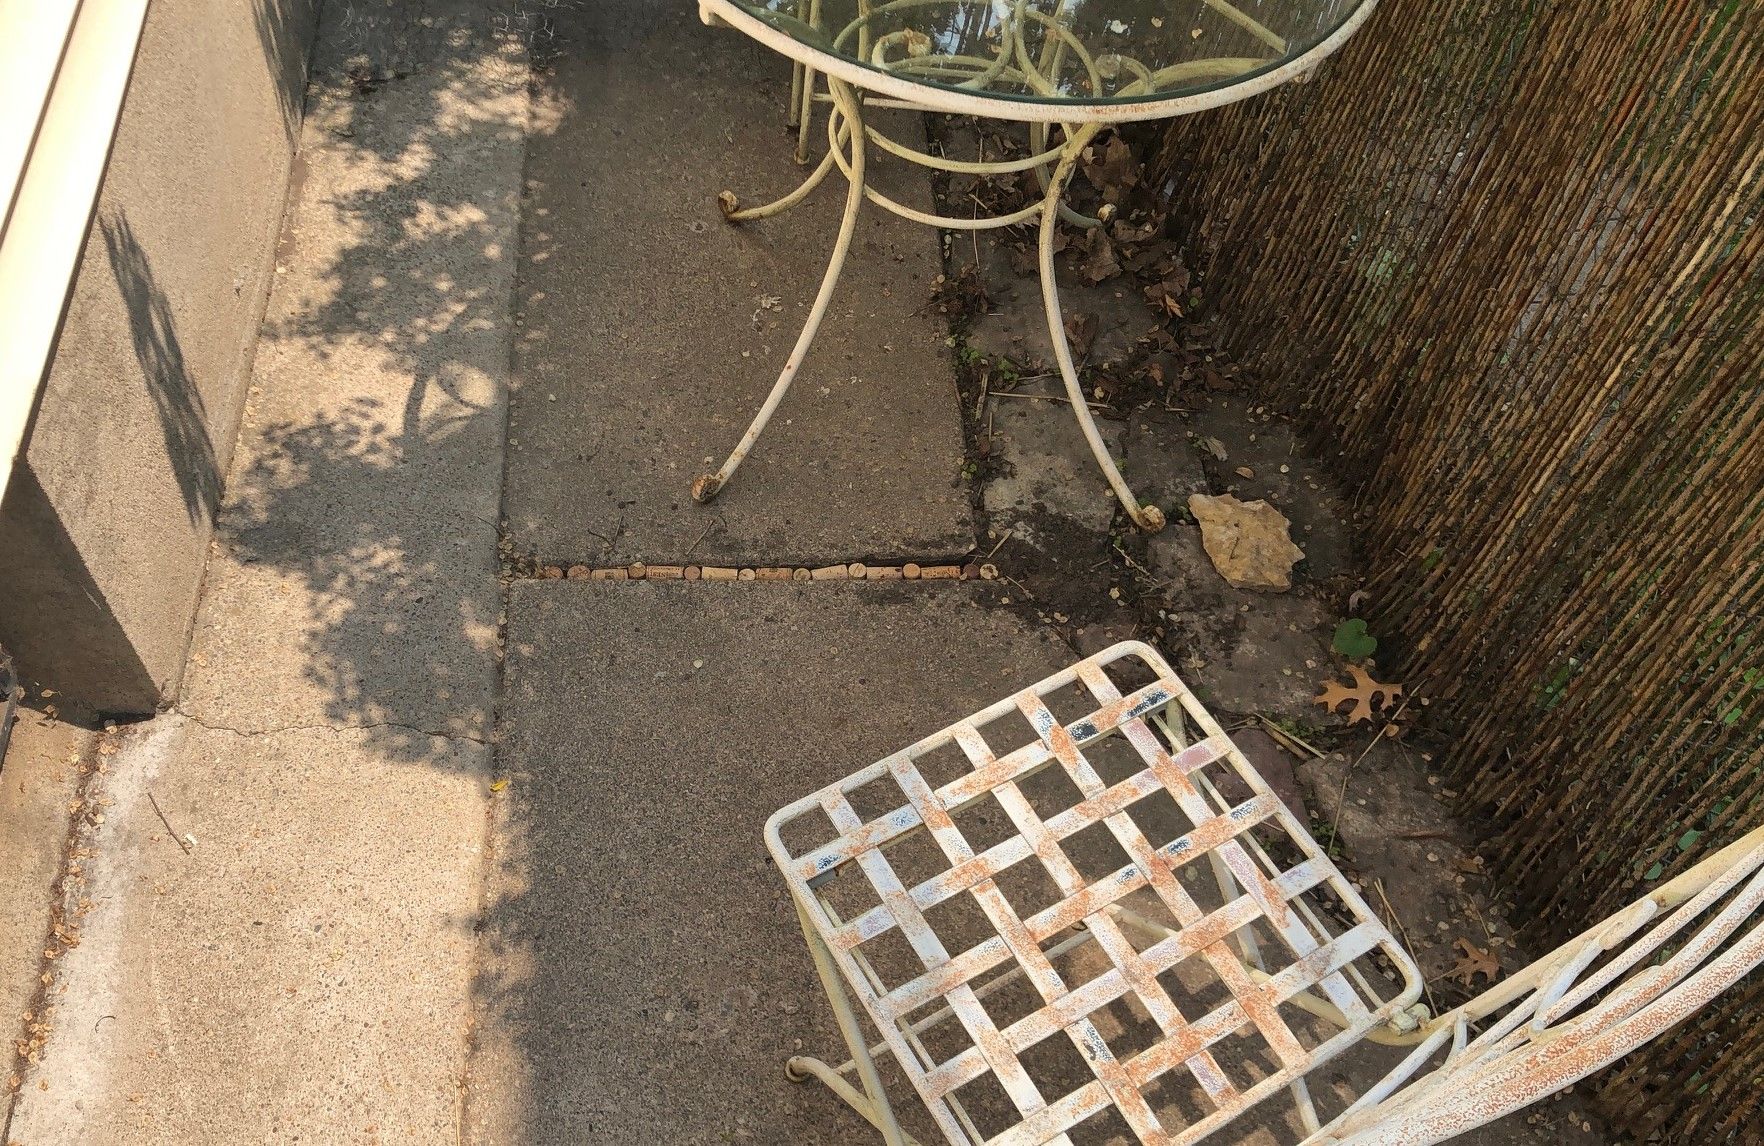
Corks as caulk
Filling wide gaps in sidewalks with commercial caulk can be messy as well as unsightly. Why not use corks instead? Yes, it works. Read how you can do it yourself.

"Cork th' h#@l out of it!"
Wherever you grow up, you encounter individuals with a unique way of talking. The small Blue Ridge Mountain town of Blacksburg, where I grew up, is no exception. It was quite common to hear "caulk," pronounced as "cork." You know, along the lines of calling duct tape duck tape.
Anyway, one handyman my folks hired to fix some leaks had the habit of pronouncing caulk as cork. His favorite solution to leaks, gaps and many other things, large and small, was to "cork the hell out of it." Which he did with zeal!
Corks as caulk?
Yes, you read the title of this post correctly; using corks as caulking works quite well in the right circumstances. This article describes how I used corks to fill in a 1" + gap between two sections of our sidewalk.
What you'll need

- A thin trowel of other implement to clear debris from the crack and make it deep enough to seat the corks flush with the surface. I used my Red Pig Crevice Weeder.
- A rubber mallet (optional but oh, so satisfying)
- Strong glue like Gorilla Glue
- Corks - What? No corks? No problem; there are sources you can tap. Please read all about them here.

Step-by-Step
- Come up with a pattern. My initial idea was to insert and seat the corks vertically, but I soon decided an alternating pattern looked better. I stacked two corks to match the height of the vertical ones and used the vertical corks to hold things together. And you can read the print on the corks if you need something to do.
- Clean debris from the gap and reserve extra soil for backfilling and height adjustment.
- Begin placing your corks, gluing them together to create a unified structure until they settle in place.
- Tap them down flush with the surface using the rubber mallet. If you don't, people with kick them out with the tips of their shoes, or you'll do it with a snow shovel.
- Pack the excess dirt into small gaps or use it to level your corks.
- Repeat until your pattern is complete!

Closing thoughts
Leaving the backfilled dirt to its own devices invites trouble in the form of weeds. So, I am researching how to start moss growing in the gaps. I've successfully transplanted it in the past onto my bonsai trees, so I will start with that approach.
Also, in the spirit of full disclosure, I learned about this technique from a family acquaintance, and he was fine with me writing about it, thanks Sal.
