Plumbing repair, hex wrenches and dental picks
Do you like plumbing projects? This post talks about fixing a leaky faucet without a single trip to the hardware store. Spoiler - I had the parts from an earlier trip.

The backstory
When it comes to DIY, there aren't too many things I shy away from other than high-voltage stuff, snaking wires or pipes through walls, brazing copper or fixing brakes. Why the aversion to these specific tasks? Bad experiences and knowing my limits.
Plumbing is one of those projects I don't especially care for, yet I tackle them when necessary. A very nice gentleman at my local Home Depot asked me how he could help. I told him I needed some plumbing fittings. With a wide grin, he said, "Well, you know, every plumbing project requires three trips."
Dang, it was like a football announcer saying the QB hasn't thrown an interception all season...bam, the next pass is an interception. And sure enough, it took three trips for that project and all others that have followed.
Troubleshooting as a stall tactic
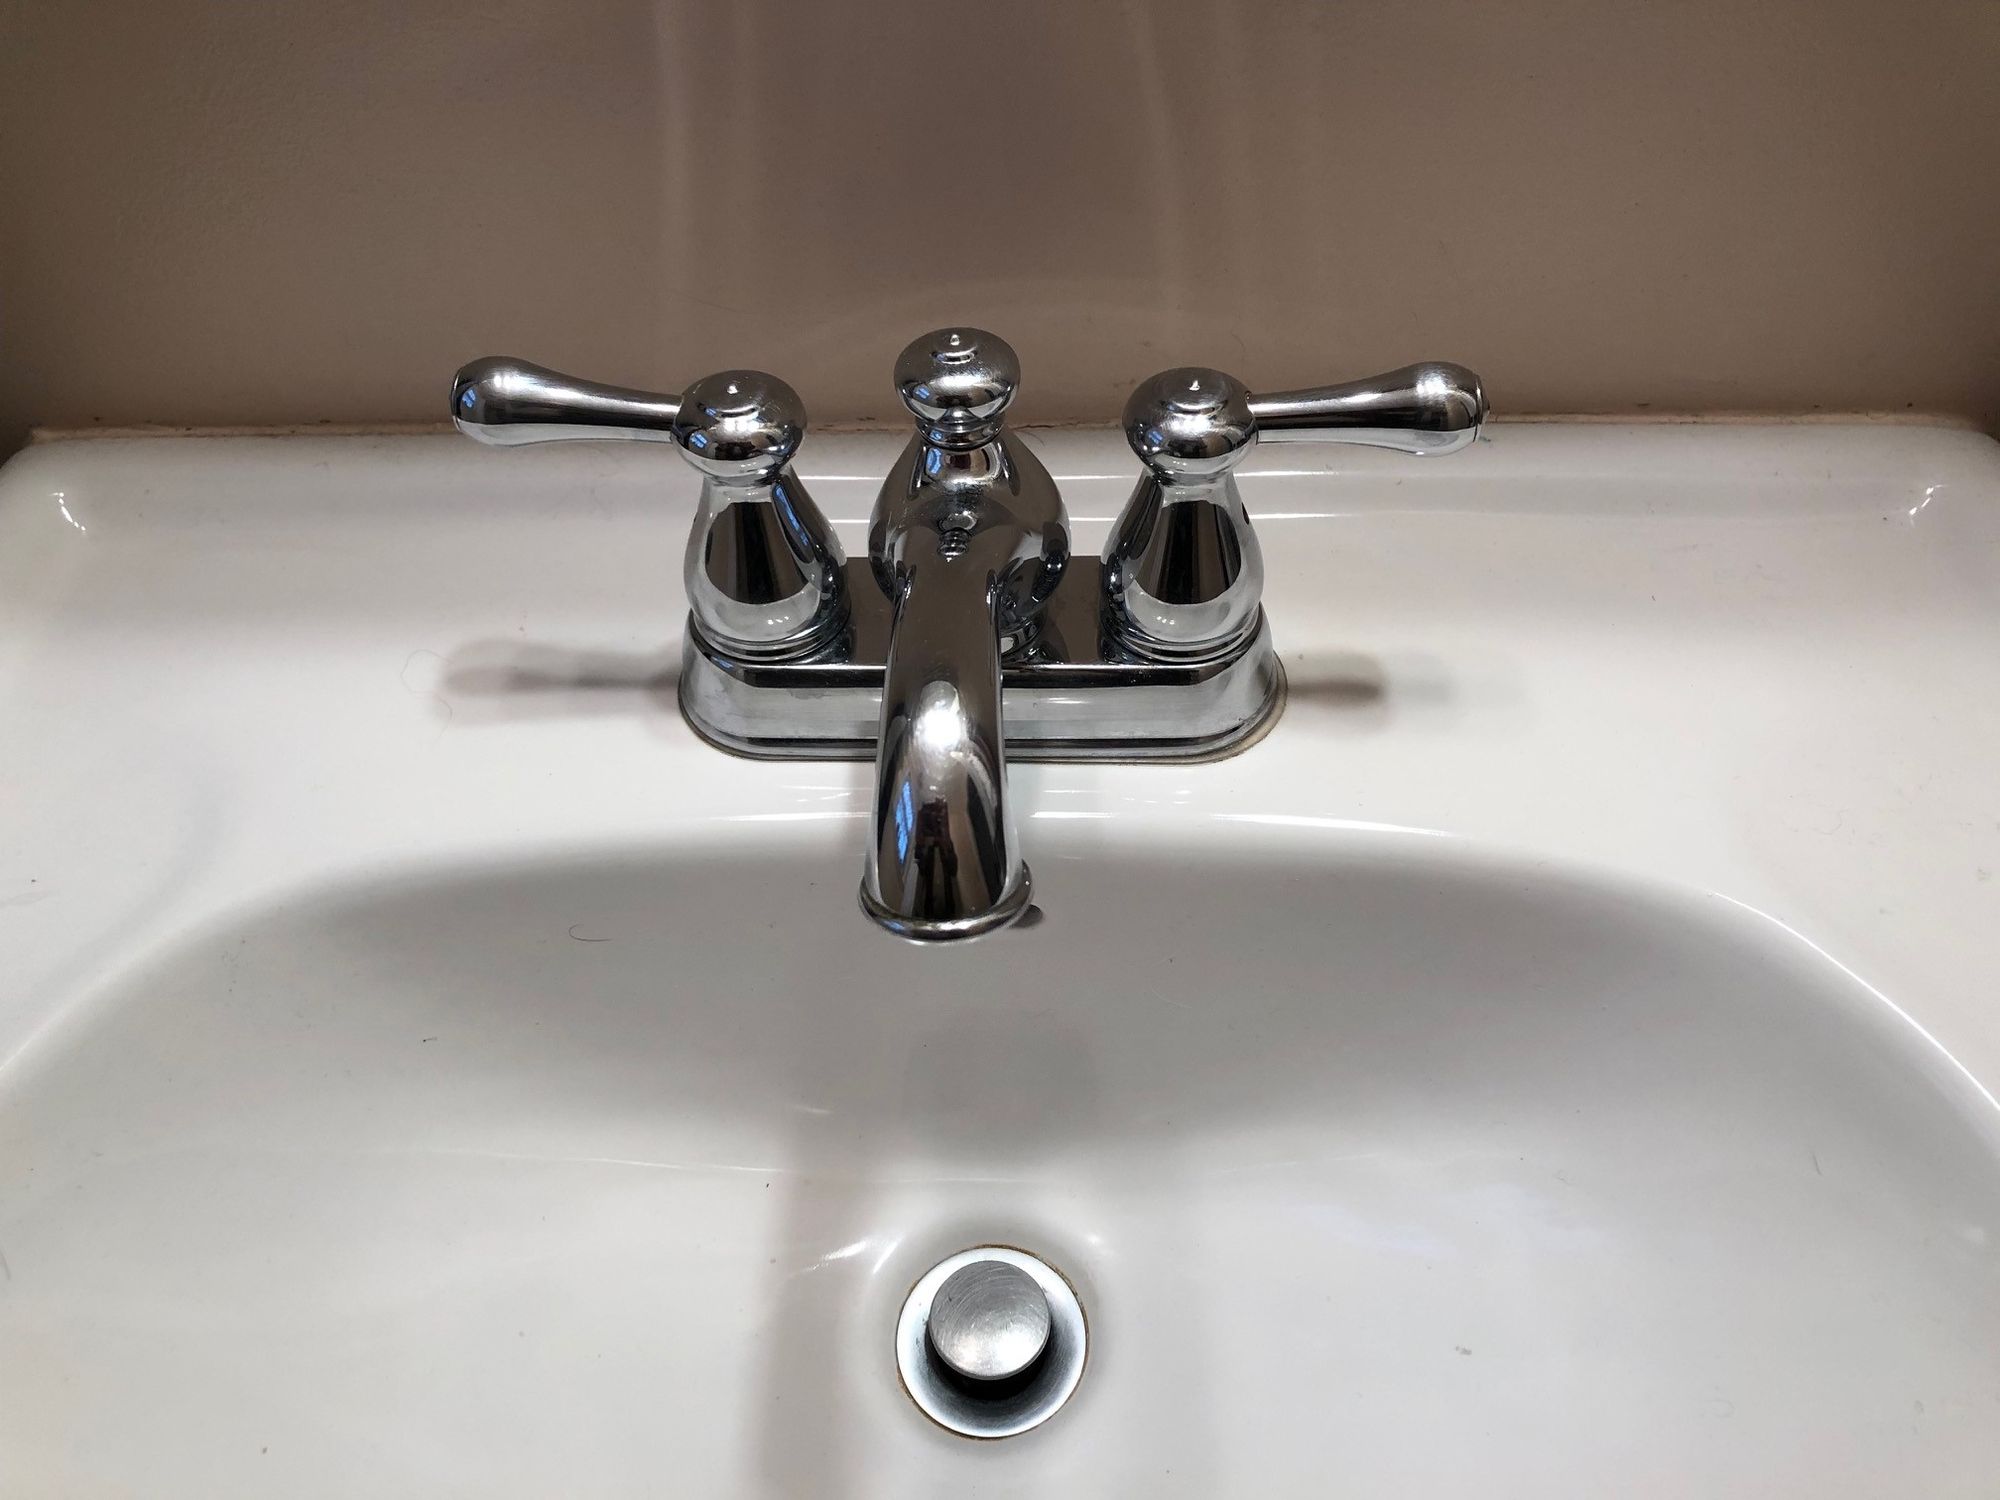
With that as background, the bathroom faucet started dripping. I viewed the drips like I would a timber rattler, with fear and distaste. I wasn't in the mood to dive into another plumbing project.
An excellent stall tactic was testing and seeing which side the leak was coming from, hot or cold. After all, I needed to know what I was up against!
Easy enough to do; spray the valve shaft with WD-40, holding a paper towel underneath to catch the runoff, close the valve and see if the leak stops. Much to my disappointment, both valves were leaking. The dip frequency was very slow, so I kicked the water pail down the road.
The motivator
My CFO, AKA my wife, advised me that the water bill was much higher than ever before. Being a winter month, the culprit had to be the dripping faucet. How can this be possible? Well, according to the EPA page about leaks around the house, a faucet dripping one drop per second can waste 3,000 gallons of water in a year! Sure enough, the leak was easily a drop per second. It took a high water bill to motivate me to take action. My conservation side was ashamed.
Fixing the drip
I had a faint recollection of working on this faucet 8 years ago but didn't remember the details. I knew I needed at least two tools, a hex wrench to remove the handles and a crescent wrench to remove the valve mechanism. I also knew I would need some plumbing supplies. Those are listed as well.
Tools and supplies
- Hex wrench -- take several unless you can tell at a glance what size you need.
- Medium-sized crescent wrench
- O-rings
- Valve spring grommets
- Dental pick
- WD-40
- Paper towels or shop rag
Step-by-step
1. Spray the water valve stems with WD-40, and then turn off the water. I recommend turning off both the hot and cold water supply lines to eliminate water adventures under the sink or at the faucet.
2. Use the hex wrench to loosen the set screws and remove the handles.
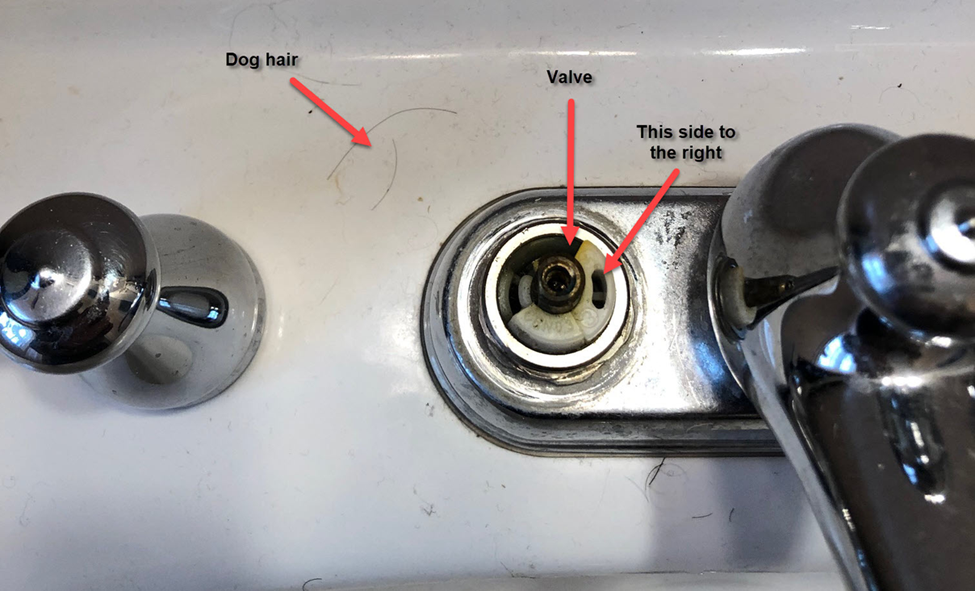
3. Take a photo of your progress. My plumbing sense was tingling, urging me to document the valve orientation. See it below.
4. Using the crescent wrench, remove the large locking nut that holds the valve in place.
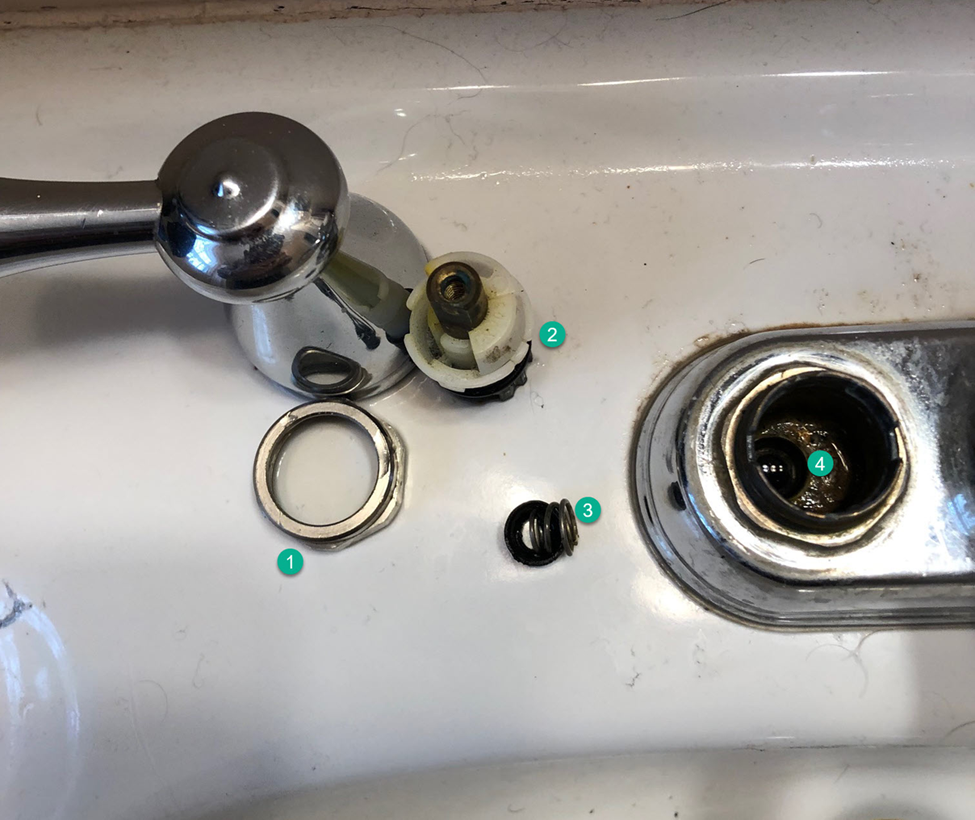
5. Pull the valve out. Parts may be loose, so be mindful of that possibility.
Tip: Close the sink drain during repair to prevent irreplaceable parts from going down the drain, creating a second project.
6. Check to see if the o-ring is still good. Look for cracks and black stuff coming off on your fingers. Either indicate a replacement is needed.
Note: Chlorinated water dissolves rubber over time. That's why you get black residue on your fingers when working with old parts.
7. Beneath the valve in my faucet is a rubber grommet holding a spring in place. Turn on the water, and the spring releases pressure allowing water to flow. Use the dental pick to pull it out by reaching down and grabbing an edge to pull up the grommet. Keep the spring, pitch the grommet.
8. Pick the proper size replacement grommet, insert the spring and, using the dental pick to hold the two together, reinsert the combination into the faucet base. Use your fingers and the edge of the dental pick to press the grommet home.
9. Reinsert the valves according to your picture.
10. Replace the locking nut and tighten securely.
11. Replace the handles and tighten them with the hex wrench.
12. Turn the water back on and check for leaks!
What if I don't have the plumbing supplies on hand? And why did you?
Let me answer the second question first. I had the parts because I am a packrat and have kept the leftover plumbing parts from several years of projects. This time I had exactly what I needed. Believe me that doesn't happen all the time.
Now, back to the first question. Once you disassemble the faucet and have the valve handy, take a picture of the faucet base. Go to your favorite hardware emporium with the valve and photo. Someone there will be able to help.
Note: Manufacturers used to emblazon their products with their brand. No plumbing fixtures in my house have a logo. Zero, zip, nada. I don't know what changed.
Tip: Look at the faucet for a brand or product name. If available, it can help find the right parts on trip #1.
Dental picks
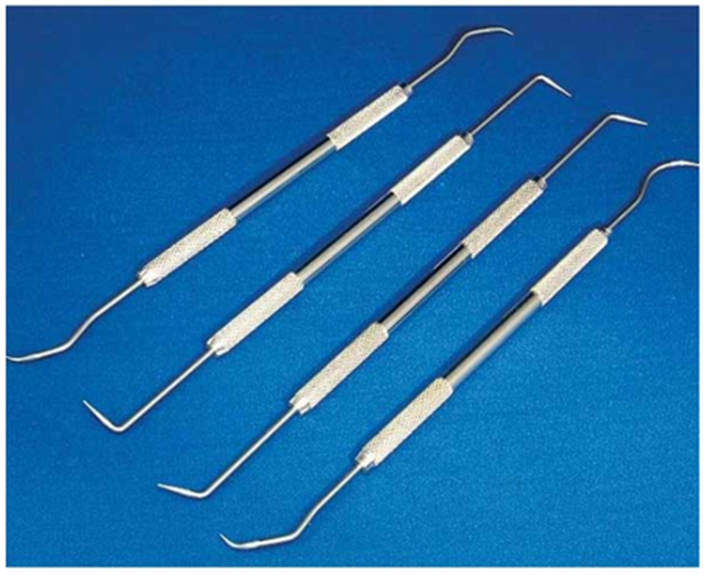
For this project, you can purchase a dental pick or create a makeshift substitute. Kind of like getting your MacGyver on. Here are some alternatives:
- Reshape a paper clip or any piece of stiffish wire like a coat hanger.
- Use a crochet hook -- ask permission first if crocheting isn't a personal hobby
- Kneedlenose pliers
- Ice pick
- Hat or corsage pin
Innovating to get the job done is half the fun of simple fixes. It becomes a bit of a mind game, you versus the project! Boo-yaa!!
Micro-Mark
If you want to take advantage of a project to expand your tool kit, go buy one, two or a set of dental picks. Your hardware store probably has them, as might your local hobby shop. Failing that, let me introduce you to one of my favorite companies, Micro-Mark, The Small Tool Specialists.
Growing up, I had a passion for what I called "tiny tools." For example, my Mom's Singer sewing machine had a splendid little screwdriver for adjustments. I snagged it so often she finally got me my own. I still remember the day it arrived by mail.
Building plastic models, rock collecting and related activities moved me into the dental tool arena. Dr. Hobbs, our dentist, was very generous in passing along damaged tools. As I built up my tool kit over the ensuing years, I acquired more picks by default.
What does this have to do with Micro-Mark? They have dental picks out the wazoo. But the goodness doesn't stop there; they have scaled-down versions of every hand and power tool you can imagine. I encourage you to check them out and send them some business when your projects require a small tool. Or dental pick.