Removing the base of a broken light bulb

Here's the scenario, a light bulb in a lamp has given up the ghost (burned out) and needs to be replaced. Easy fix, right? Yep, in most cases, you just unscrew the burned-out bulb and screw in a fresh new one, preferably LED.
But, on occasion, the bulb part breaks off, leaving the base of the bulb in the socket. Now what? There are two techniques you can use we'll review now.
Do you want fries with that?
The first involves using a potato. That's right, a humble spud can save the day. Here's how:
1. Unplug the lamp or be sure the switch is off.
2. Select a potato with a slender end about the diameter of the base. If you don't have one, you can trim it to fit.

3. Press the potato firmly onto the base and twist the base out.
4. Wipe off the potato residue, insert a new bulb then power it up.
5. Discard the potato, or cut off the end you used on the base to make sure no glass or other nasty elements are left behind. For my money, I'd discard the whole thing.
Break out the tools
My preferred way is to remove the base with needle-nose pliers and a small screwdriver. This gives me an excuse to use some tools and it saves a potato that is better used for tasty side dishes.
This is also a better method when candelabra-base bulbs are involved. These are the bulbs that go into night lights and chandeliers. Their small diameter can make it difficult to remove with a potato.
Let's remove a broken base with tools.
1. Unplug the lamp or be sure the switch is off.
2. Get your tools: needle-nose pliers and a small screwdriver.
Note: If you do not have a small screwdriver like the one shown, use your smallest flat blade tool.

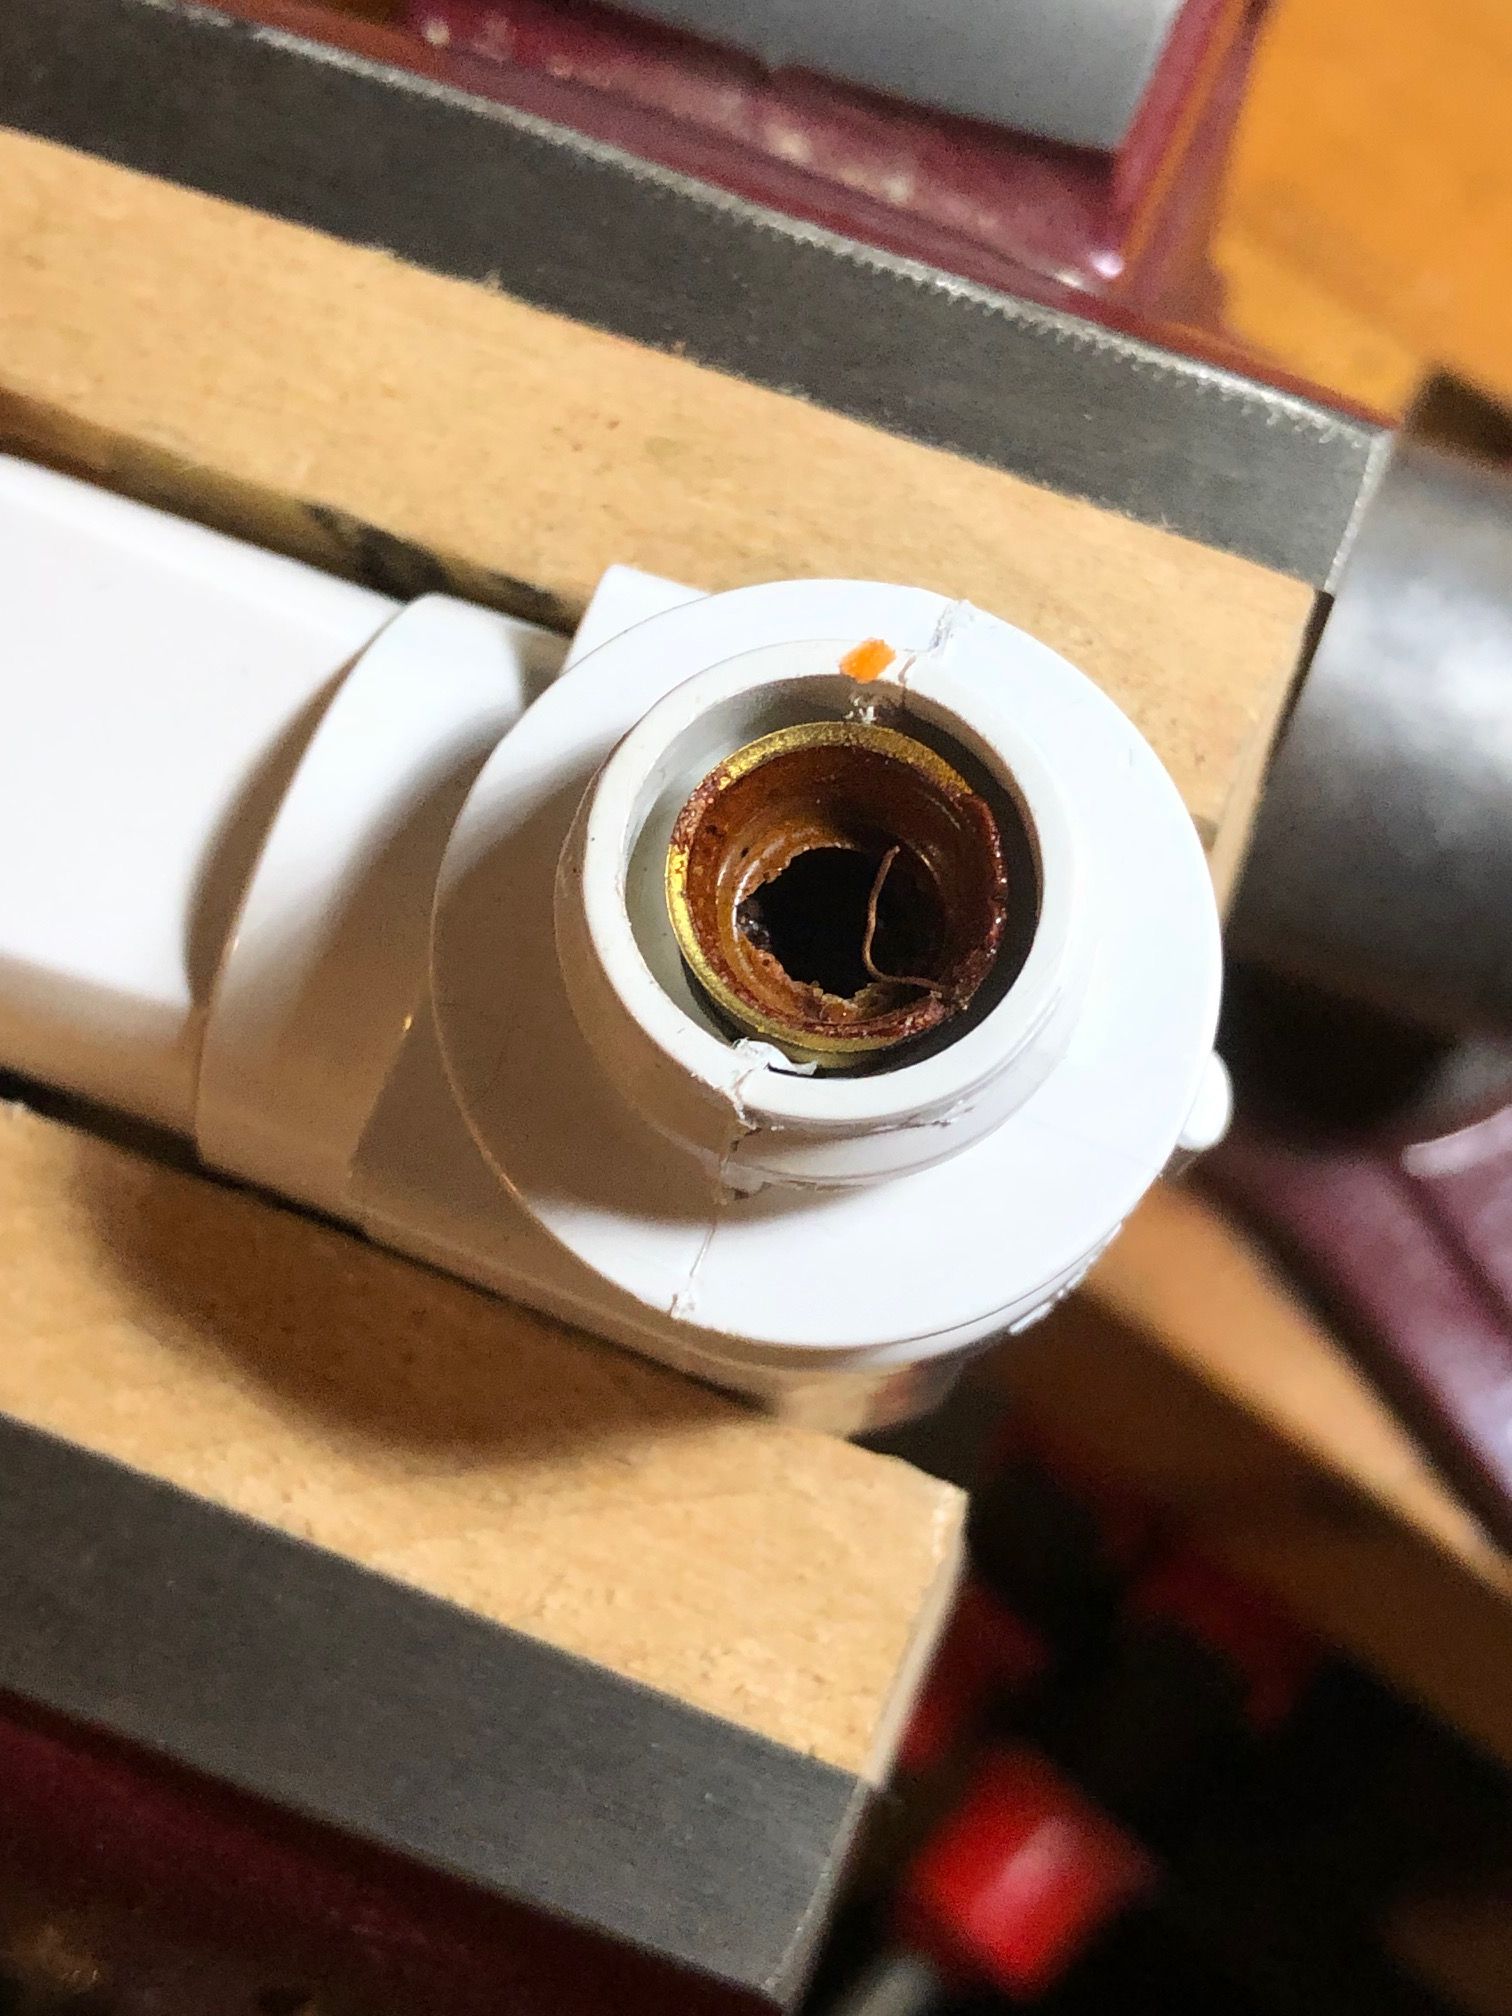
3. Insert the screwdriver carefully between the base and socket, being sure to not crack or chip the socket. Bend the base towards the center of the base. Repeat on the other side. What is this step for? It lets you create a spot where you can grab the base.
Note: On normal-sized bulbs, you generally can insert the needle-nose pliers between the base and socket.

4. Grab the base with your needle-nose pliers and remove the base.


5. Screw in your new bulb and repower the light!
Time to make some garlic mashed potatoes!